Jupyter server
This tutorial shows how to run JUPYTER server on Dwarf system and how one can connect to it using local machine. That way User can use resources of Dwarf instead his private laptop and maybe, which is more important has easy access to data which is stored on Dwarf
SUMMARY:
This commands should be executed everytime You want to use JUPYTER on Dwarf.
     [user@localhost ~]$ ssh user@dwarf.if.pw.edu.pl
     [user@dwarf ~]$ ssh66
     [user@dwarf66 ~]$ source scl_source enable devtoolset-8 rh-python36
     [user@dwarf66 ~]$ source /home2/archive/ntg/python_venv/bin/activate
     (python_venv_) [user@dwarf66  ~]$ jupyter notebook --no-browser --port=####
     [user@localhost ~]$ ssh  -L ####:localhost:#### user@dwarf66.if.pw.edu.pl
Note that in line 5 & 6 there are '# # # #' signs. You should replace it by any four digit number. Finally copy paste the URL to your browser from the last line that was produced by the fifth command from the above code snippet.
DETAILED:
We assume that User know how to connect to Dwarf, if not we would link to our previous tutorial: Connecting to Dwarf
Once You are connected You should be able to change node by executing
[user@dwarf ~]$ ssh66
It is important to laod python 3.6 version by:
[user@dwarf66 ~]$ source scl_source enable devtoolset-8 rh-python36
You may check the correct version by:
        [user@dwarf66 ~]$ python --version
        Python 3.6.3
Now we are ready to open an virtual environment that has installed few important libraries. If there are no library that you would like to use please contact Andrzej Makowski to install one. One may ask which modules are installed so far:
     [user@dwarf66 ~]$ pip list
Package              Version
-------------------- -------
argon2-cffi          21.3.0
argon2-cffi-bindings 21.2.0
async-generator      1.10
attrs                21.4.0
backcall             0.2.0
bleach               4.1.0
cffi                 1.15.0
cycler               0.11.0
dataclasses          0.8
decorator            5.1.1
defusedxml           0.7.1
entrypoints          0.4
importlib-metadata   4.8.3
ipykernel            5.5.6
ipython              7.16.3
ipython-genutils     0.2.0
ipywidgets           7.7.1
jedi                 0.17.2
Jinja2               3.0.3
jsonschema           3.2.0
jupyter              1.0.0
jupyter-client       7.1.2
jupyter-console      6.4.3
jupyter-core         4.9.2
jupyterlab-pygments  0.1.2
jupyterlab-widgets   1.1.1
kiwisolver           1.3.1
MarkupSafe           2.0.1
matplotlib           3.3.0
mistune              0.8.4
nbclient             0.5.9
nbconvert            6.0.7
nbformat             5.1.3
nest-asyncio         1.5.5
notebook             6.4.10
numpy                1.19.5
packaging            21.3
pandas               1.1.5
pandocfilters        1.5.0
parso                0.7.1
pexpect              4.8.0
pickleshare          0.7.5
Pillow               8.4.0
pip                  21.3.1
plotly               5.9.0
prometheus-client    0.14.1
prompt-toolkit       3.0.30
ptyprocess           0.7.0
pycparser            2.21
Pygments             2.12.0
pyparsing            3.0.7
pyrsistent           0.18.0
python-dateutil      2.8.2
pytz                 2020.5
pyzmq                23.2.0
qtconsole            5.2.2
QtPy                 2.0.1
scipy                1.5.4
Send2Trash           1.8.0
setuptools           54.2.0
six                  1.16.0
tenacity             8.0.1
terminado            0.12.1
testpath             0.6.0
tornado              6.1
traitlets            4.3.3
typing_extensions    4.1.1
tzlocal              2.1
wcwidth              0.2.5
wdata                0.1.7
webencodings         0.5.1
widgetsnbextension   3.6.1
zipp                 3.6.0
zope.interface       5.4.0
Then it comes to activating listed modules. One can do it by executing a simple command:
[user@dwarf66 ~]$ source /home2/archive/ntg/python_venv/bin/activate
If You did if just right then Your terminal command line should start with (python_venv).
We are ready to open JUPYTER kernel. Here is how one can do this:
(python_venv_) [user@dwarf66 ~]$ jupyter notebook --no-browser --port=####
Note here that signs '# # # #' shuold be replaced by any four digit number. This number will be followed through next commands. At this point the connection to Dwarf Jupyter is opened. At this stage one should open a local terminal and execute the following line:
[user@localhost ~]$ ssh -L ####:localhost:#### user@dwarf66.if.pw.edu.pl
If the pasword is needed type it in. When Your connection went through a browser should open. At top there is a place to paste a TOKEN. A TOKEN is generated in the DWARF terminal where you opened a JUPYTER kernel. It is the last line and it reads:
    Or copy and paste one of these URLs:
        http://localhost:####/?token=[TOKEN_HASH]
     or http://127.0.0.1:####/?token=[TOKEN_HASH]
One should copy [TOKEN_HASH] to a appropriate place in a browers or simply close the tab and open one of the above URLs.
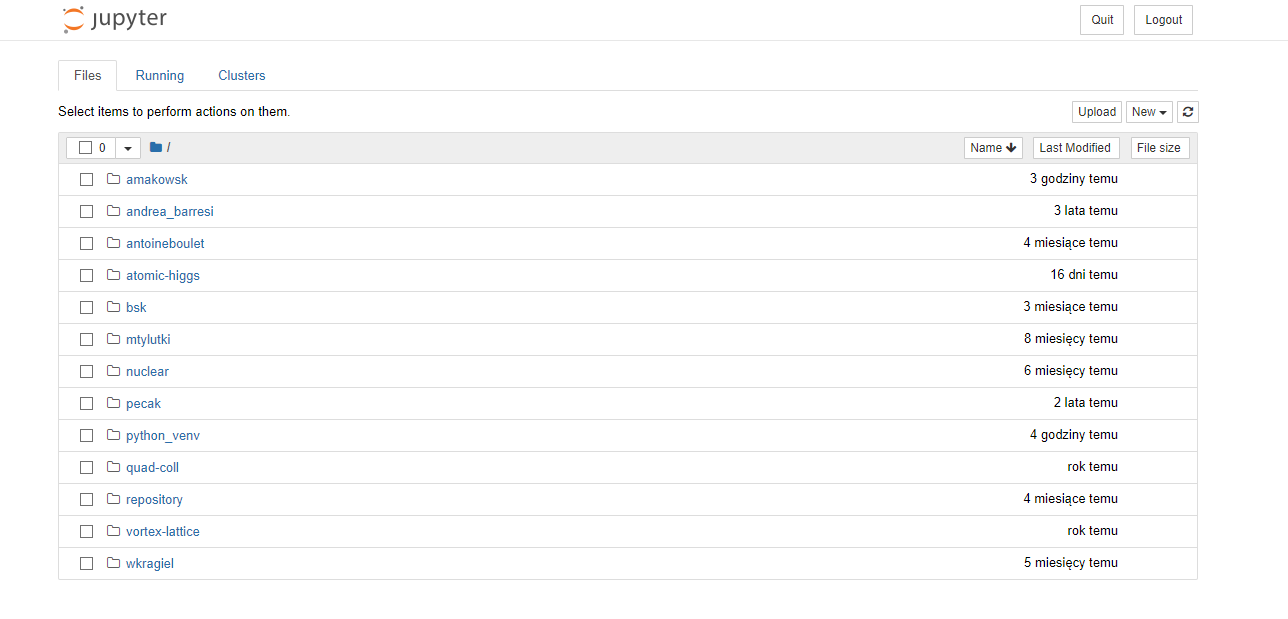
If You reached this point You should be able to see the following screen:
At this point everything works as regular JUPYTER. One can open file of choice and execute the code on Dwarf.
